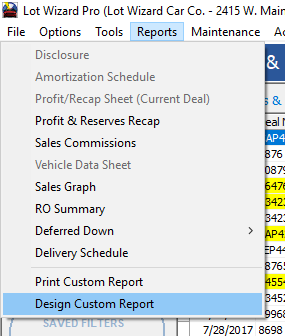
To open the Report Designer, click 'Reports' in the top horizontal tool bar, and select 'Design Custom Report', OR click 'Report Designer' on the left side of the screen.
The Report Designer window will appear.
Next, select 'Mailing Labels' from the three options listed in the upper left corner.
Select the size of the mailing labels you wish to print by using the drop-down box as shown below.
The system will print the labels on standard sized label sheets that you can purchase commercially.
|
|


Use the drop down arrows to select the data needed to make up each address. The system will allow you to write up to four (4) lines of data per label.
Use the Sort selection box to sort the order in which the labels print. For example, you may want to choose to sort by last name alphabetically.
Limiting and Filtering Customer Data for Mailing Labels
Whenever you design a custom report, such as mailing labels, the data for the report will, by default, use the data displayed in the current window.
If you do not apply a filter, mailing labels will print for ALL the customers in the database.
If you wish to limit which customers are displayed in the Customers window, apply Quick Filters or Advanced Filters .
You can create a filter, give it a name and save it, then apply the filter by clicking in the 'Runtime Filter' box in the lower right corner of the Report Designer window.
Saving and Preview
When you are finished setting up the information for your labels, save the label layout by clicking the Save button at the bottom of the screen.
You will be prompted to enter a name before saving.
The 'preview' button will display ONLY the first 30 labels. The purpose of the preview button is for you to check the format and appearance before printing.