Before using the menu selling features of the system, you must designate which items or pricing options are available.
Click on the 'Maintenance' drop down menu in the top horizontal tool bar, then click on 'Coverage Options List'.
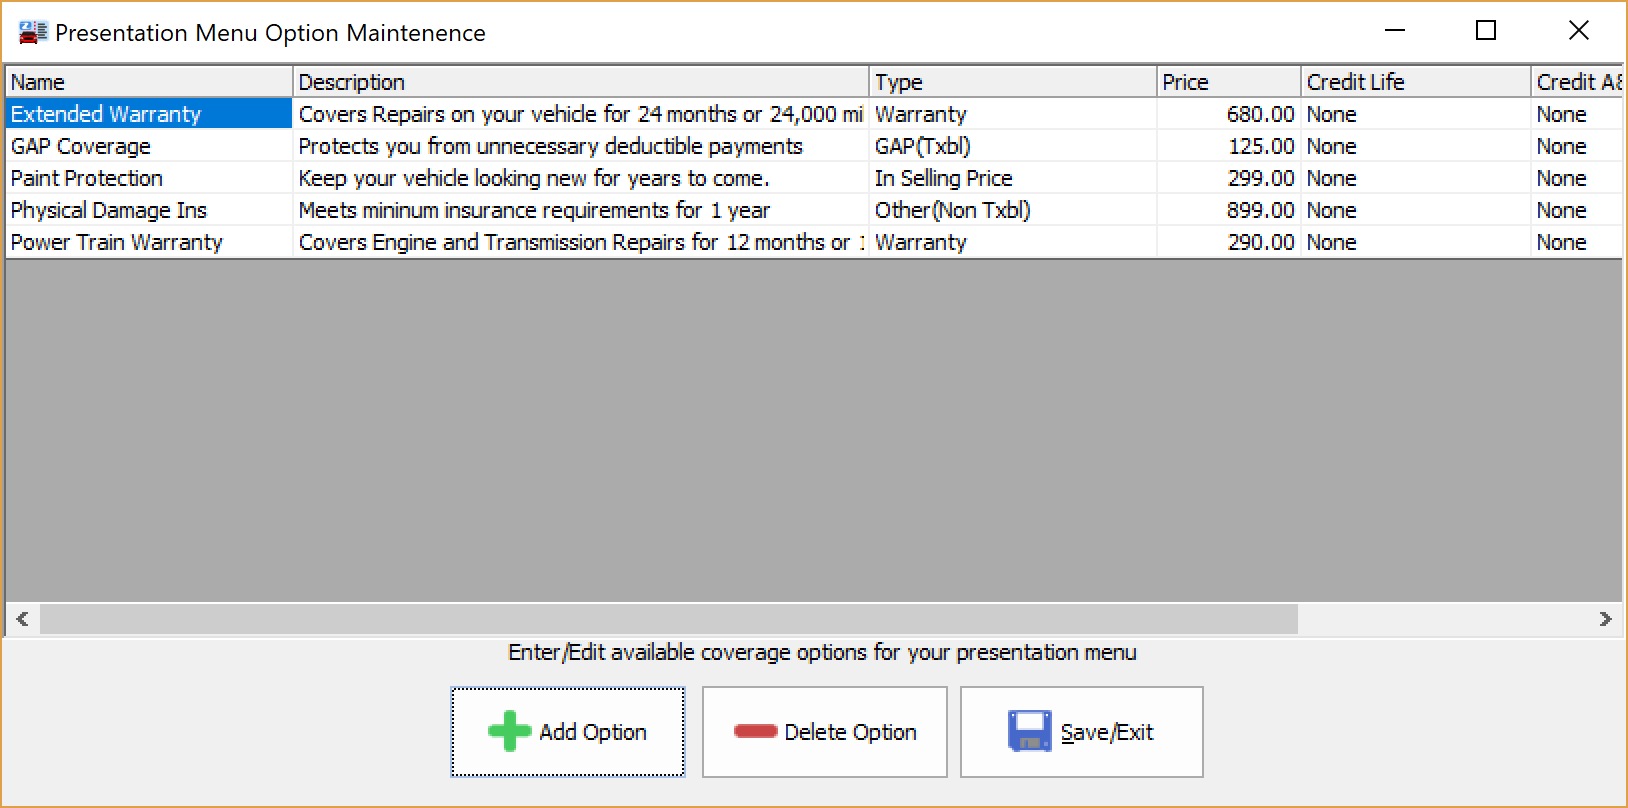
A new window opens called 'Presentation Menu Option Maintenance'. (See example below)

Adding Menu Items
To add an item to the window, click the Add Option button. An entry line will be added to the window.
Click in each section of the line and enter the appropriate information:
➢Name: The name of the item to be presented.
➢Description: A text description of the item to be presented.
➢Type: A drop down arrow will appear in this field, allowing you to choose types such as Warranty, GAP (Taxable), GAP (Non-taxable), etc. This helps the program know whether or not this item is taxable so the program can correctly calculate a payment for this plan.
➢Price: The dollar amount to charge the customer for this item.
➢Credit Life: The type of Credit Life coverage that this item represents (if any).
➢Credit A&H: The type of Credit A&H coverage that this item represents (if any).
➢Credit L. Life: the type of Credit Level Life coverage that this item represents (if any).
When you have finished adding all of the appropriate menu items, click the Save/Exit button.
Deleting Menu Items
To delete an item in the window, click and highlight the line in the window's listing, then click the Delete Option button. The menu item will be removed from the list. When you are finished, click the Save/Exit button.